Finding digital evidence during DFIR is hard and often involves identifying something suspicious and investigating. One technique is to look in the same folder as a suspicious item to see what else you can find. Often attackers are automated (or lazy) and store files near each other so that their scripts can easily find them.
For example, the attacker may create a folder in AppData or ProgramData to store configuration files, passwords, and other outputs. Maybe you’ll find a single reference to that folder and want to investigate what is in there.
The most recent release of Cyber Triage (version 2.7) added a “File Explorer” view that allows you to see what other files are inside of a folder. This blog post shows you how to use that feature so that you can save time during investigations by finding evidence during DFIR faster.
Clusters of Indicators
There is no single way to perform an investigation. If you give the same dataset to a dozen DFIR examiners then you’ll see a dozen ways to (hopefully) get to the same answer. It all depends on what clues they see first and what they do with those clues.
With each Cyber Triage release, we have added more ways to start with one clue and move on to the next. For example, we added a set of tabs on the bottom in version 1.7 to allow the user to find other artifacts associated with a selected artifact. You can start with a file and then easily see if a running process was using it or if it was a startup item. We then added a timeline feature to allow you to start with an artifact then jump to a timeline to see what happened before or after it.
Now, we allow you to start with a file and see what else is in the folder and its subfolders. We used to highlight only the files that we thought were suspicious, but our users have wanted more control overseeing everything that is there. Many Cyber Triage examiners use it for in-depth intrusion forensics and want the full context.
This capability does not exist in many triage tools because they are focused on collecting the minimal amount of data. Many responders who write their own collection systems need to write powershell scripts to go back and get directory listings.
Checking Out the Neighbors
To view the metadata for all files and folders, you need to ensure that you perform the “Full File System Scan” when you make the collection with our agentless collection tool. See our previous blog post about configuring settings.
A key limitation though is that you will not have access to the content of all files. You’ll have access to:
- All file metadata (such as name, size, and times)
- Content for files that the collection tool thought could be relevant, such as all startup items, downloads, and packed files.
If we collected all file content, it would take a long time. The next release of Cyber Triage (next month) will allow you to right-click on a file and Cyber Triage will go back to the endpoint to get its content.
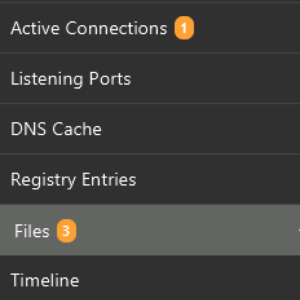
There are two ways to poke around in folders. One is to click on the “Files” item on the left.
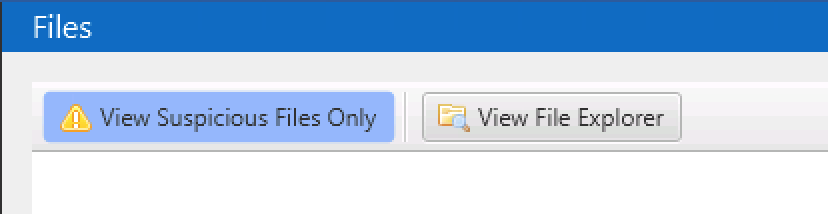
The top allows you to change your view of all files or just the suspicious ones.
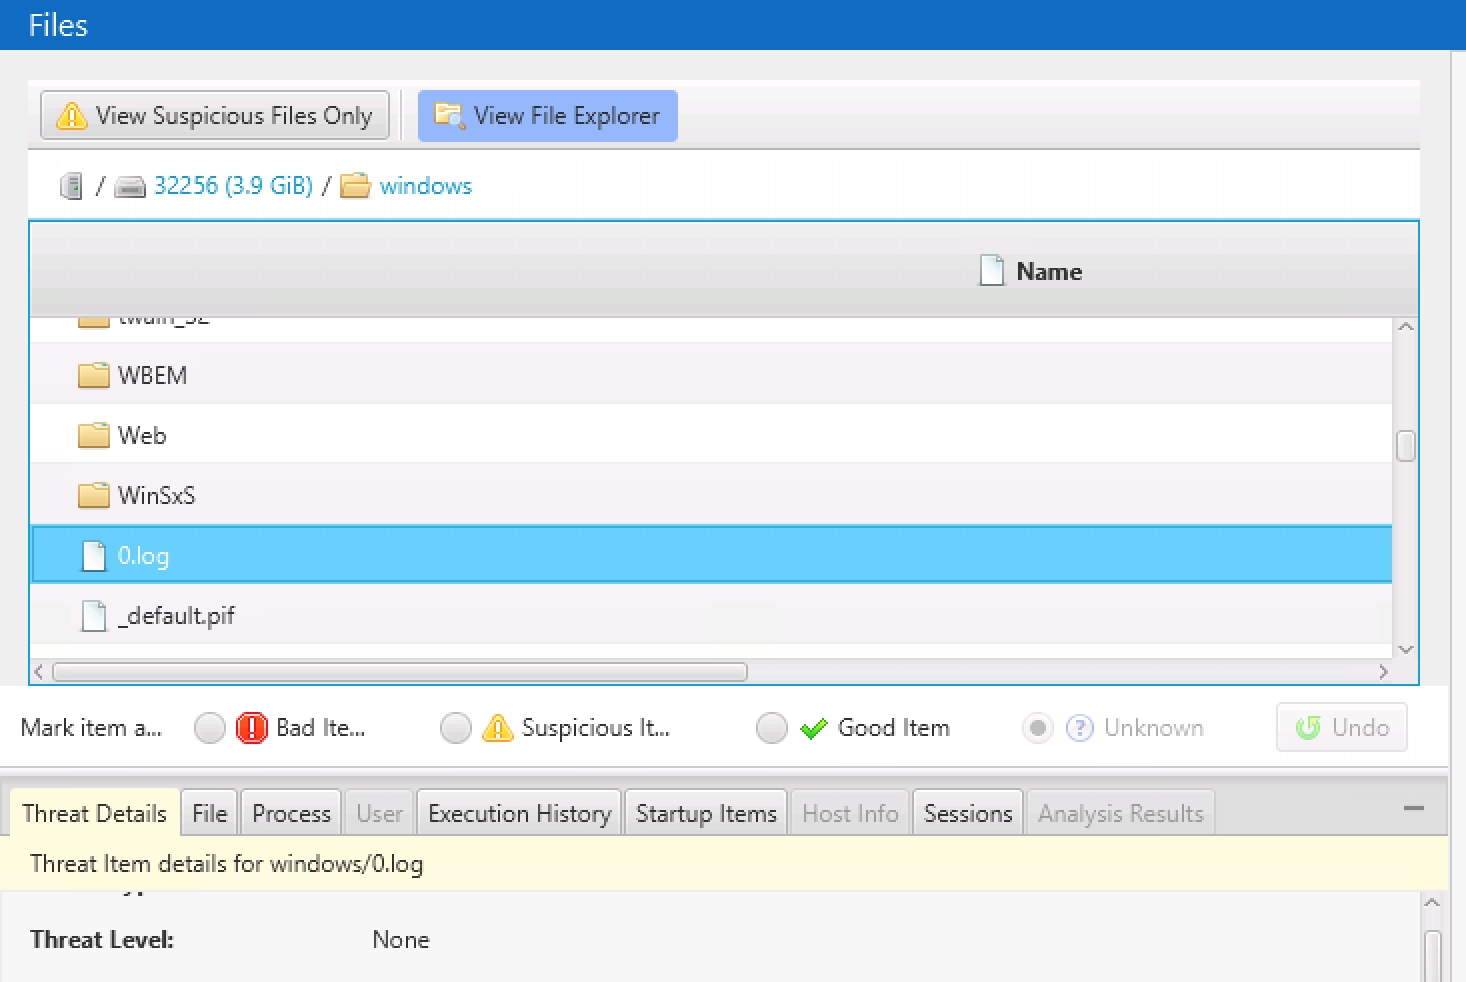
If you choose “File Explorer”, then you will see the file systems and folders to double-click into. If the file content was collected, you will see details on the bottom.
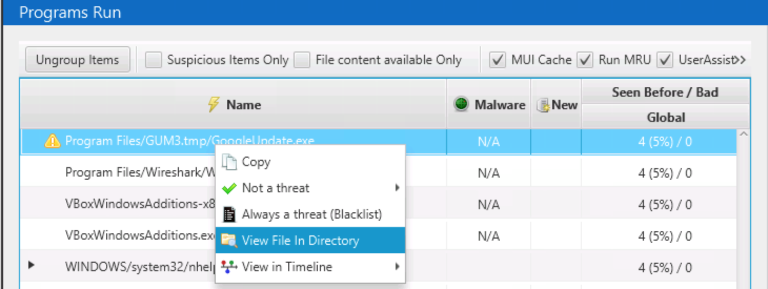
The other way to get into the File Explorer is to right-click on any artifact and choose “View in Directory”. This will bring you to its folder in File Explorer.
Try it Out
If you’re looking to make your endpoint forensics investigations faster, then download the latest version of Cyber Triage using the form. You will get an agentless DFIR solution that automates the collection and analysis of your data.