The Cyber Triage Collector
Find all the evidence you need for your investigation fast.

The Cyber Triage Collector copies data from a system being investigated so that you can quickly start your analysis.
The Collector can be deployed in any environment.
It’s a standalone tool you can deploy via EDR agents, email to your clients, or run from a USB drive. Its output can be sent to a Cyber Triage server, S3 bucket, or saved to a file.
Flexible Launch
There are many options for getting the single EXE file to the target sytem and for getting data back. Many SOCs deploy using their EDR agents.
If you need local IT staff to manually launch collect, there is also a UI wrapper so they do not need to use the command line.

Comprehensive
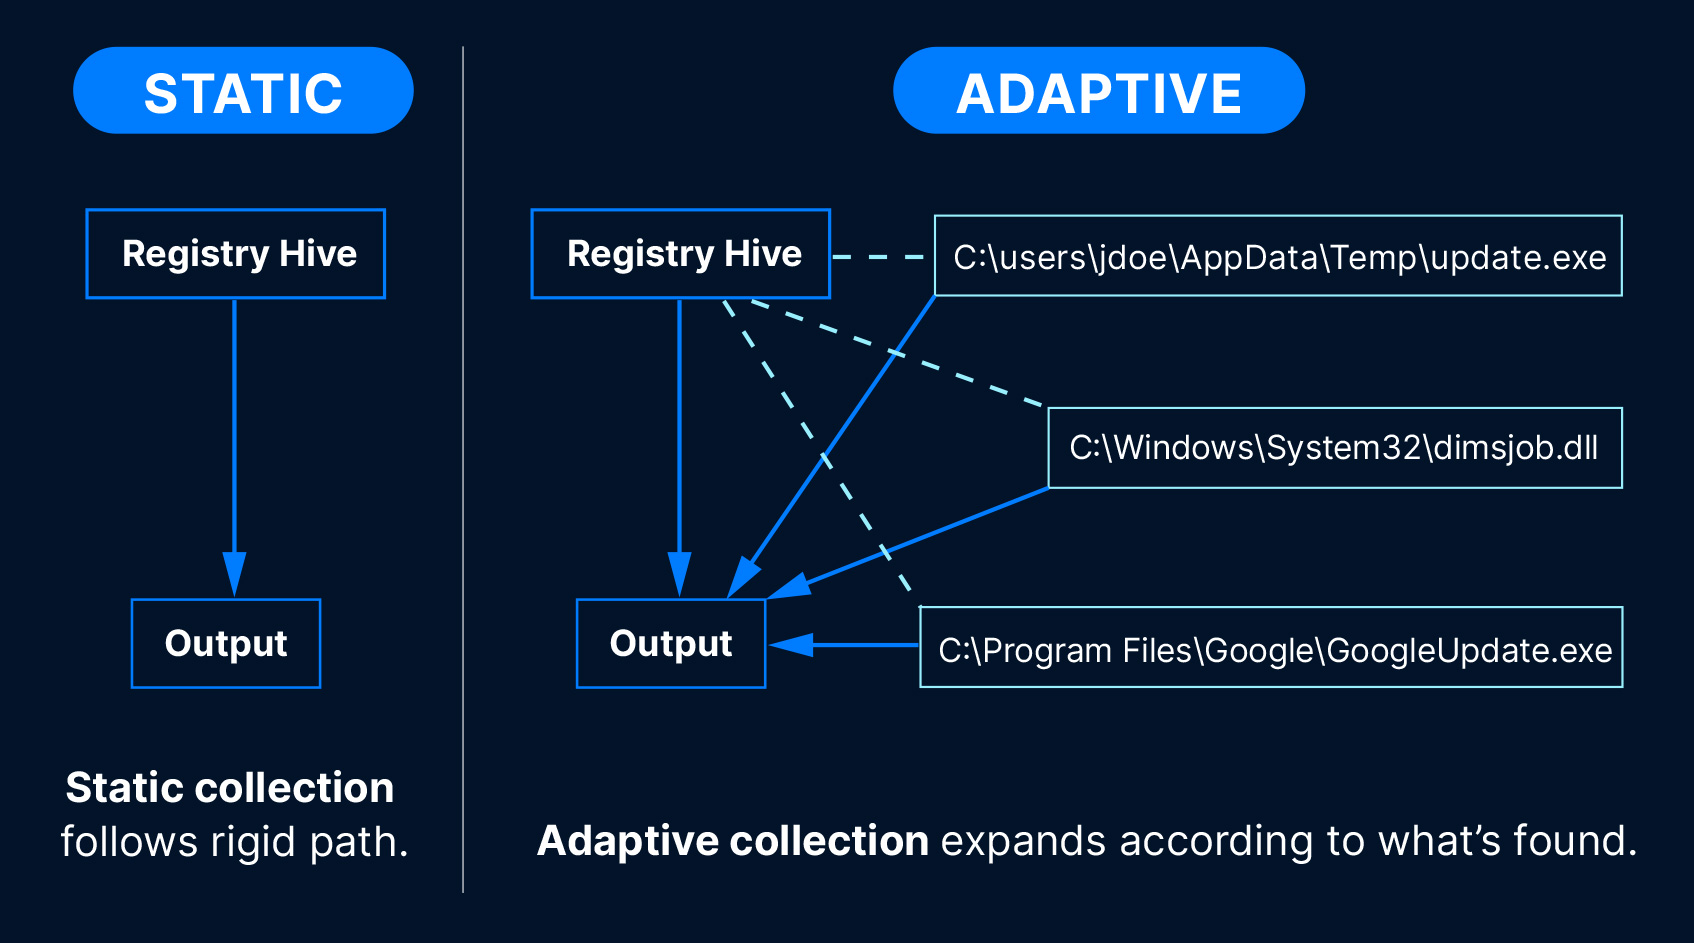
Our Collector is “adaptive” and copies over 1,000 Windows artifact types. Unlike static collectors, it uses rules as a starting point, then expands out the collection according to what it finds.
This means it gets you the most amount of relevant data, especially scripts and executable content.
Customizable
The Collector’s rules can be customized in the Cyber Triage UI.
This is useful when you want to always collect a specific application log or look for an indicator of compromise (IOC).

Flexible Output
The output of the Collector is a single file that can be sent to many destinations. It can be encrypted with a public key.
To use the output in other tools, use Cyber Triage to export the files.

Try Cyber Triage Collector
The Collector comes with all versions of Cyber Triage. Try out Cyber Triage today to get access to the Collector and make sure you quickly get all of the data you need.
Collector FAQ
A standalone executable that extracts key DFIR artifacts and source files from a live Windows system or other data sources so you can start analysis fast. It runs on Windows and has no .NET dependencies.
The Collector ships with each release of Cyber Triage. You can extract the Collector after you install the main application.
The Collector parses artifacts while it is running on the target host and will copy files that the artifacts refer to. It goes beyond copying only a set of files from a static set of rules. It starts with the static registry hives and then adapts to the system so that it copies as much data as possible in a single collection.
The Collector looks for over 1,000 individual data artifacts ranging from operating system configuration files to application logs. In addition to the standard Windows artifacts (Registry, event logs, Prefetch files, shortcut files, etc.), it uses an adaptive collection algorithm that identifies recently used executables (.exe and .dll). This means that any threat actor tools or malware on the system will also be collected. We also collect logs from RMM tools and other non-Windows applications.
Here’s a list of the types of collected artifacts:
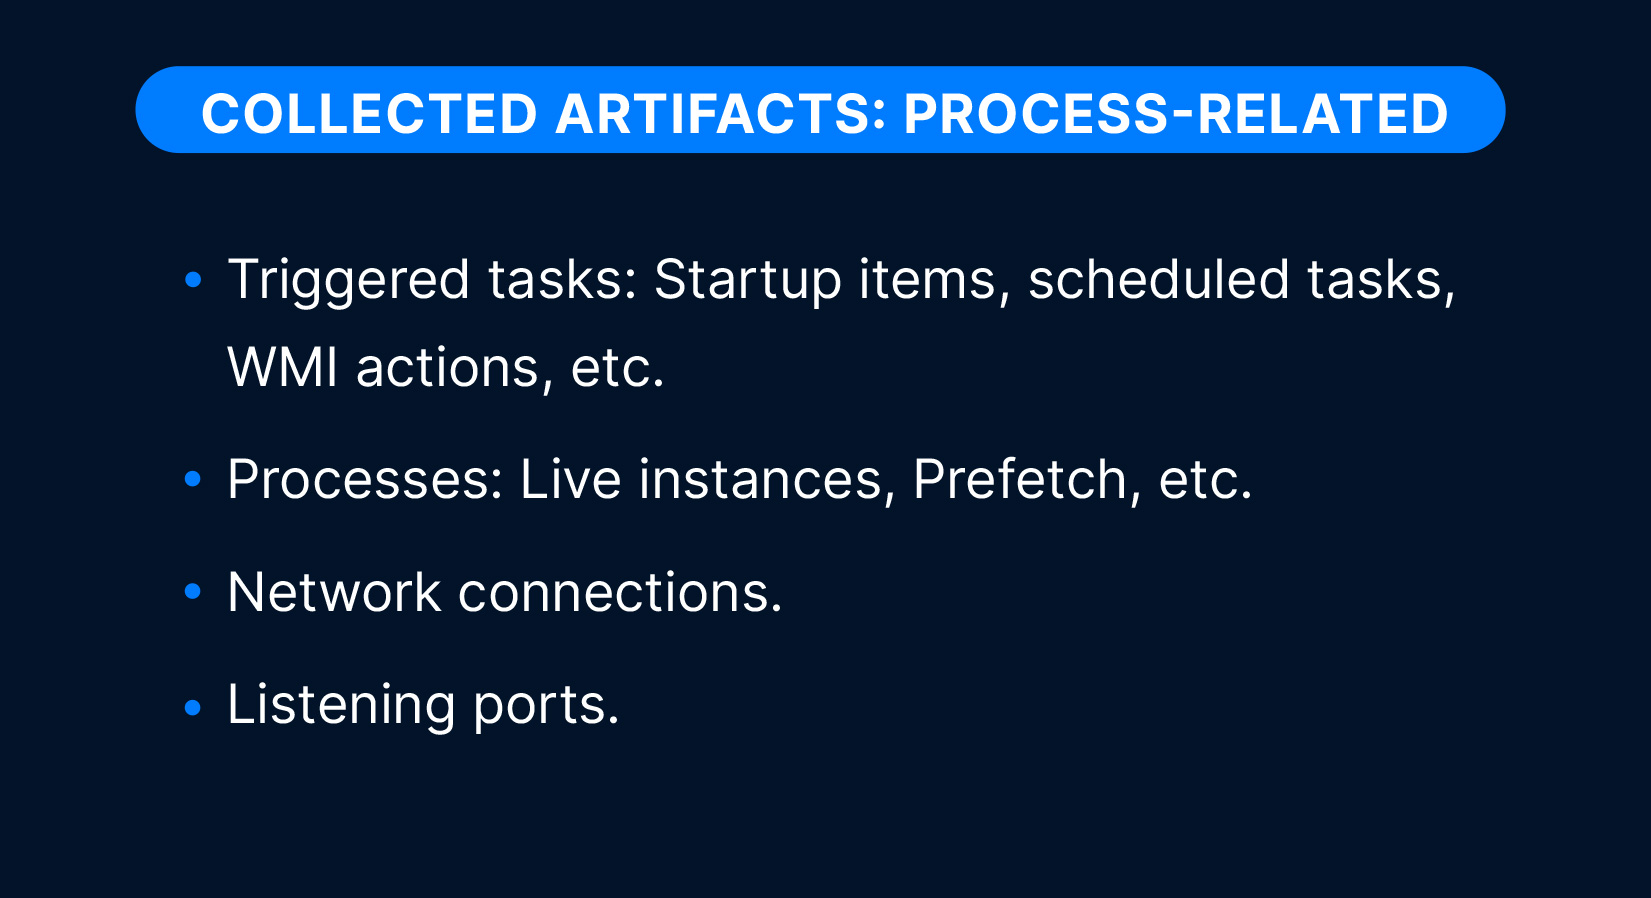
Process-related artifacts:
- Triggered tasks: Startup items, scheduled tasks, WMI actions, etc.
- Processes: Live instances, prefetch, etc.
- Network connections.
- Listening ports.
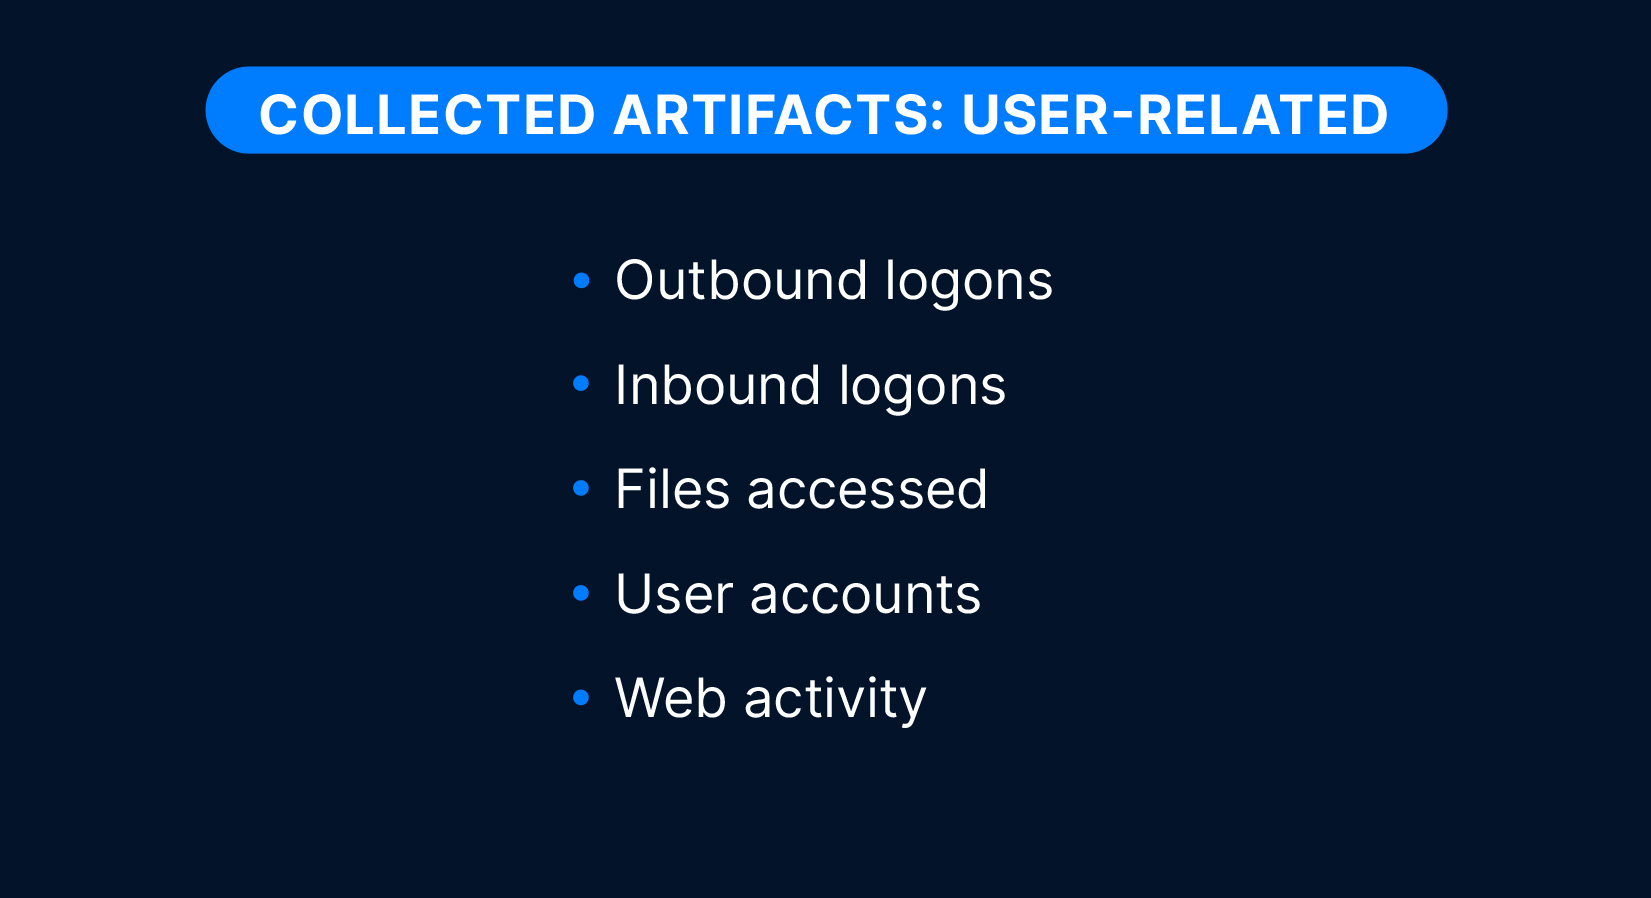
User-related artifacts:
- Outbound logons
- Inbound logons
- Files accessed
- User accounts
- Web activity
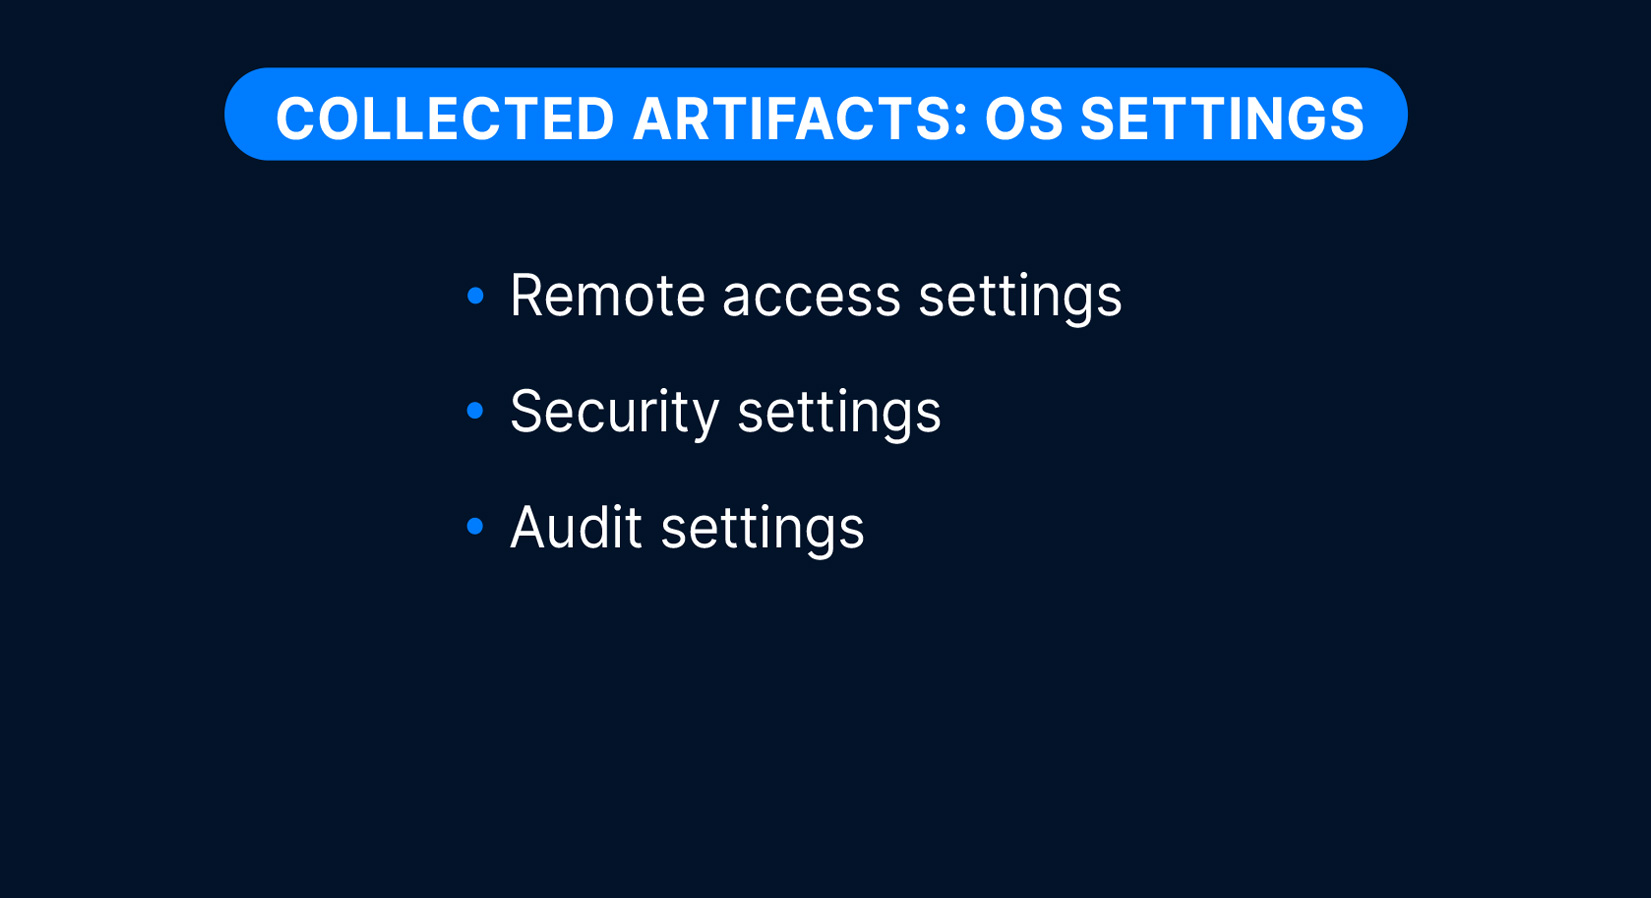
OS settings artifacts:
- Remote access settings
- Security settings
- Audit settings
File content artifacts:
- All source files (registry hives, event logs, etc.).
- All executables used by the system.
- All file metadata from NTFS MFT.
- All recently created files.
Yes. The main Cyber Triage application allows you to export the collected data in a variety of formats, including ZIP, JSON, and CSV.
Use of the Collector requires a Cyber Triage license. The Collector may be deployed to and run on any number of hosts by the license holder or by individuals within the license holder’s organization or engaged under a contractual relationship with the license holder. Collector output may only be imported into or processed by a licensed copy of the Cyber Triage Application.
The Cyber Triage Collector is a single Windows command-line program that can run on Windows (XP and above).
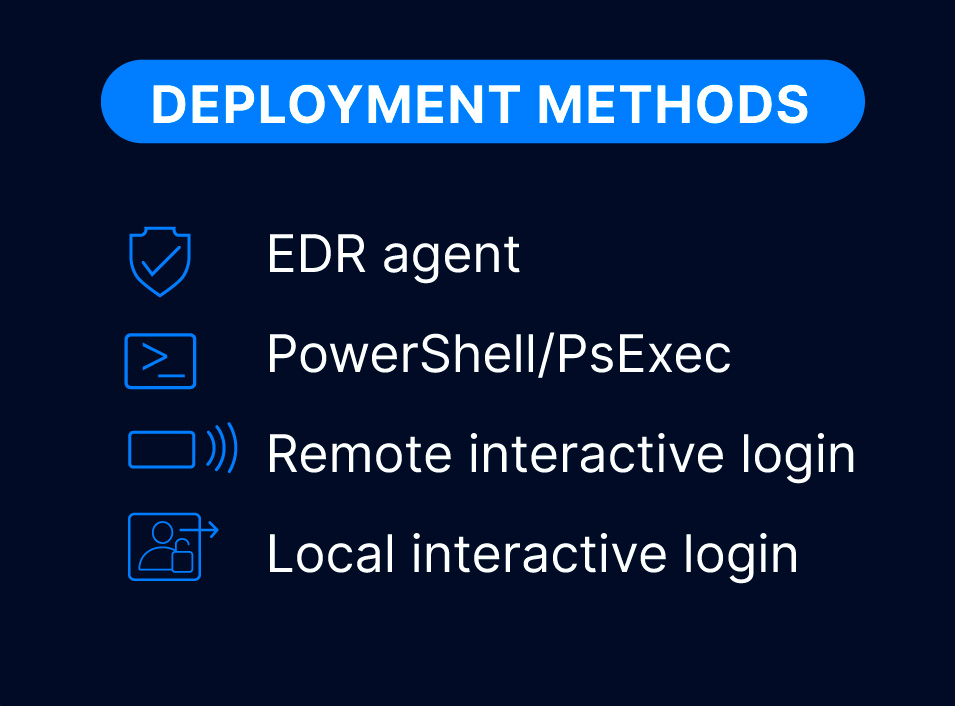
The Collector can be easily distributed. It doesn’t require a formal installation. it just needs to get onto the target system. You can:
- Install it in your EDR script library and deploy via an EDR console
- Place it on a network share
- Copy it with Powershell or PsExec
- Place it on a USB drive
- …
All you need to do is get the single file there and launch it.
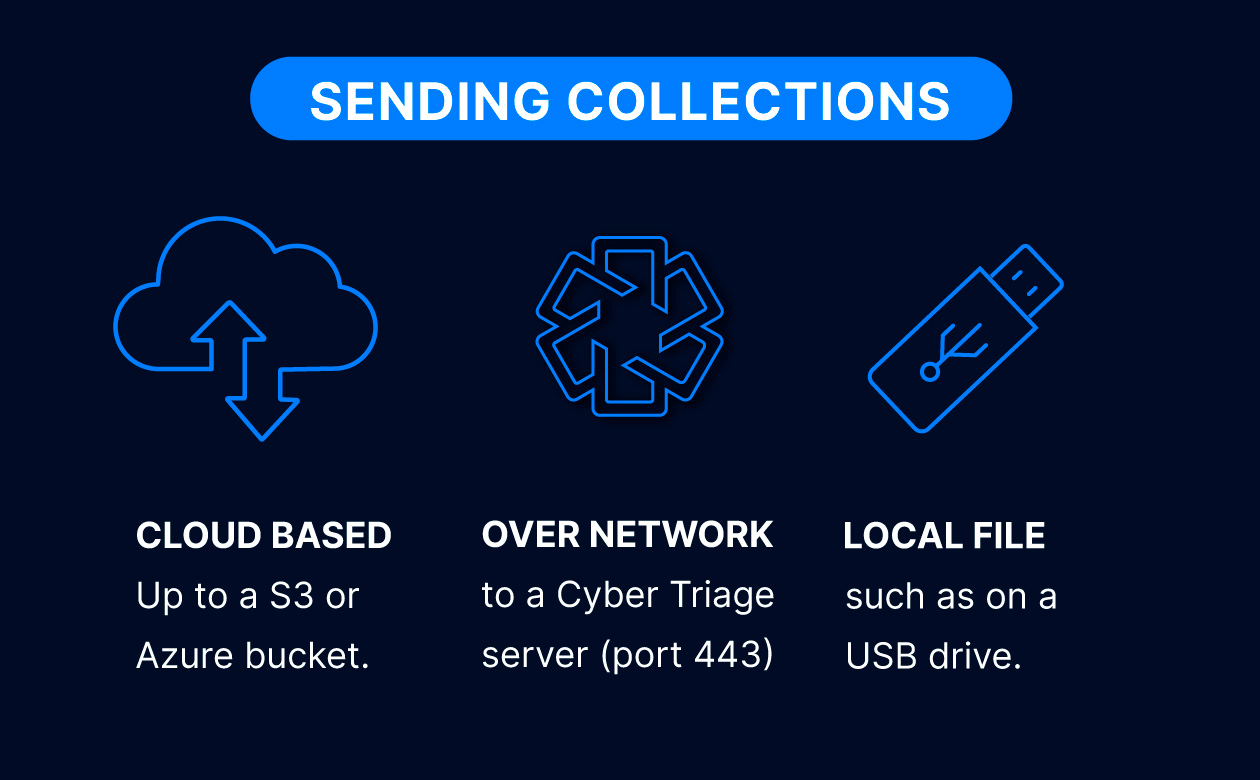
It can save to:
- A local file (in the same folder the Collector ran from)
- A Cyber Triage application on the network (that listens on port 443)
- Cloud storage, such as S3 (AWS or other providers) or Azure.
If you have a file, then you can import it using the “Cyber Triage File” method once you have created your incident. The user manual has details:
Yes, enable optional public-key encryption for the output file.
Yes. You can create custom collection rules and rule sets (e.g., to always include specific app logs). You can also choose what types of artifacts are collected.
Yes, the Collector accepts command-line arguments or a configuration file. There is also a GUI interface if you want to run it manually. Common options include –fast (skip full FS scan), –dtypes (choose data types), –ruleset_file (extra files to grab), –skip_file_contents (hashes only, no content). Use –help to see all.
Yes. Save to a local file (USB or share) and later import the collection into Cyber Triage. Or, allow the IP address of your Cyber Triage server and send data directly to it.
Cyber Triage can be configured to connect directly to your cloud storage, meaning you can load collections from within the user interface without having to manually download and copy files. It also supports any cloud storage service using the S3 protocol and Microsoft Azure.
Use our Deployer script to download and launch the Collector. The script runs the Collector in the background so that the EDR does not kill if it runs too long.
Yes. The Windows command-line tool also has a simple UI wrapper to make client-driven collections easy. In addition to this, you can pre-configure the Collector so all they need to do is right-click and select “Run As Administrator”.